
Dominique Labre is Creator and Lead Member of the Ottawa’s Homebrew Society, a local club focused on connecting homebrewers of all levels of expertise, assisting them in improving their brewing skills and to introduce new beer lovers to the amazing hobby of homebrewing.
On top of the ever-growing home brewing community, we also have access to a massive amount of information online and numerous published books on homebrewing. There’s so much information that sometimes it can seem overwhelming for brewers. This is why I condensed all the resources into an easy to follow, six-step process:
Step 1: Identify what flavor you want to express in your beer
The first step is a simple but important one; the selection of your recipe. What do you want to brew and enjoy in the next few weeks? What will you want to drink come summertime? Something seasonal, experimental, simple, boozy, crushable, dark, pale? Or a classic thirst-quenshing golden lager? The list goes on and on. By narrowing down the style, you can select what characteristics your beer should have.

What will it be?
- Will it be an Ale or a Lager
- The anticipated OG (Original Gravity)
- How many IBU’s do you seek
- Color as per the style
- What malt characteristics
- Do you need or want special ingredients (Spice, fruits, extracts etc.)
In your search for the perfect beer, you will come across a large database of recipes. Take your time reading and selecting a recipe that is doable for the type of brewing setup you have at home and your level of brewing expertise.
Step 2: Choose your malts (Grain/DME/LME)
Once your have your style in mind, the recipe you chose will depend on the next few steps:
- Will you use Malt Extracts ? (Dry or Liquid) or Malts (All-Grains)
- What specialty grains do you need ? (Chocolate, Smoked, Caramels)
- What is your mash schedule ? (How long to boil and what steps to prepare for during your brew day)
Often recipes that use extracts are easier and require less specialty equipment, unlike All-Grains recipes which are often labelled as a more advanced method and requires more equipment.

Step 3: Calculate your water and water chemistry
This step is often debated among brewers. Many brewers I know do not do anything to their water and their beer comes out perfectly fine, whereas some others measure their PH level virtually every five minutes from mashing to boiling. I usually neutralise and adjust my water every 2 out of 3 brew days.
For us living in the Ottawa region, the water is quite good to brew with straight from the tap. Still, some minor adjustments to the water can make significant improvements to the final product depending on the style you are making.
- Find out the water profile of your region
- Determine whether your water needs adjustment based on your recipe
If you decide to adjust your water, use https://ezwatercalculator.com/ to determine what addition you may need to use:
- Gypsum
- Epsom salts
- Calcium Chloride
- Table Salt
- Baking Soda
- Lactic Acid for PH adjustments
One step you cannot skip is calculating how much water you need to mash (Steep your grain) and sparge (Rinse your grain) in relation to your grain bill (total amount of malt). There’s a multitude of “Mash & Sparge Water Calculator” tools online, most of which are easy to use.
Step 4: Select your hops
Once you have your recipe, you will be able to decide which hops you can use according to the style you want to make. The type and amounts of hops you chose will dictate your beer.
- Aroma (Smell)
- Flavor (Taste)
- Bitterness (IBU)
Step 5: Choose an appropriate yeast strain and fermentation plan
A beer is not a beer unless it is fermented. Otherwise, it is just a very sweet grain water!
To finish your beer with the magic of fermentation you must:
- Choose your yeast strain that fits your beer style
- How much yeast you should pitch (Add to the fermenter)
Typically, one vial/packet is enough for a standard 5 gallons of homebrewed beer.
This step depends on the ABV you expect to reach and the vitality of your yeast. (The measure of yeasts readiness to ferment. This can be determined by the best before date or the manufactured date on the packaging) If the yeast is old or if your recipe advises you to use more than 1 yeast packet, you may need to make a yeast starter. (A mixture of yeast and wort to grow and strengthen your yeast mixture.) You should also consider:
- Will your beer be a Lager or Ale (temperature of your fermentation)
- How will you monitor the fermentation temperature (I suggest a simple thermometer sticker)
- What type of vessel and size fermenter you require
Step 6: Determine your finishing process (clarification, carbonisation, and packaging)
The fun part is almost here! You can almost drink it! Once your beer is fermenting you can plan the next few steps:
- Do you need the beer to be ready for a specific date?
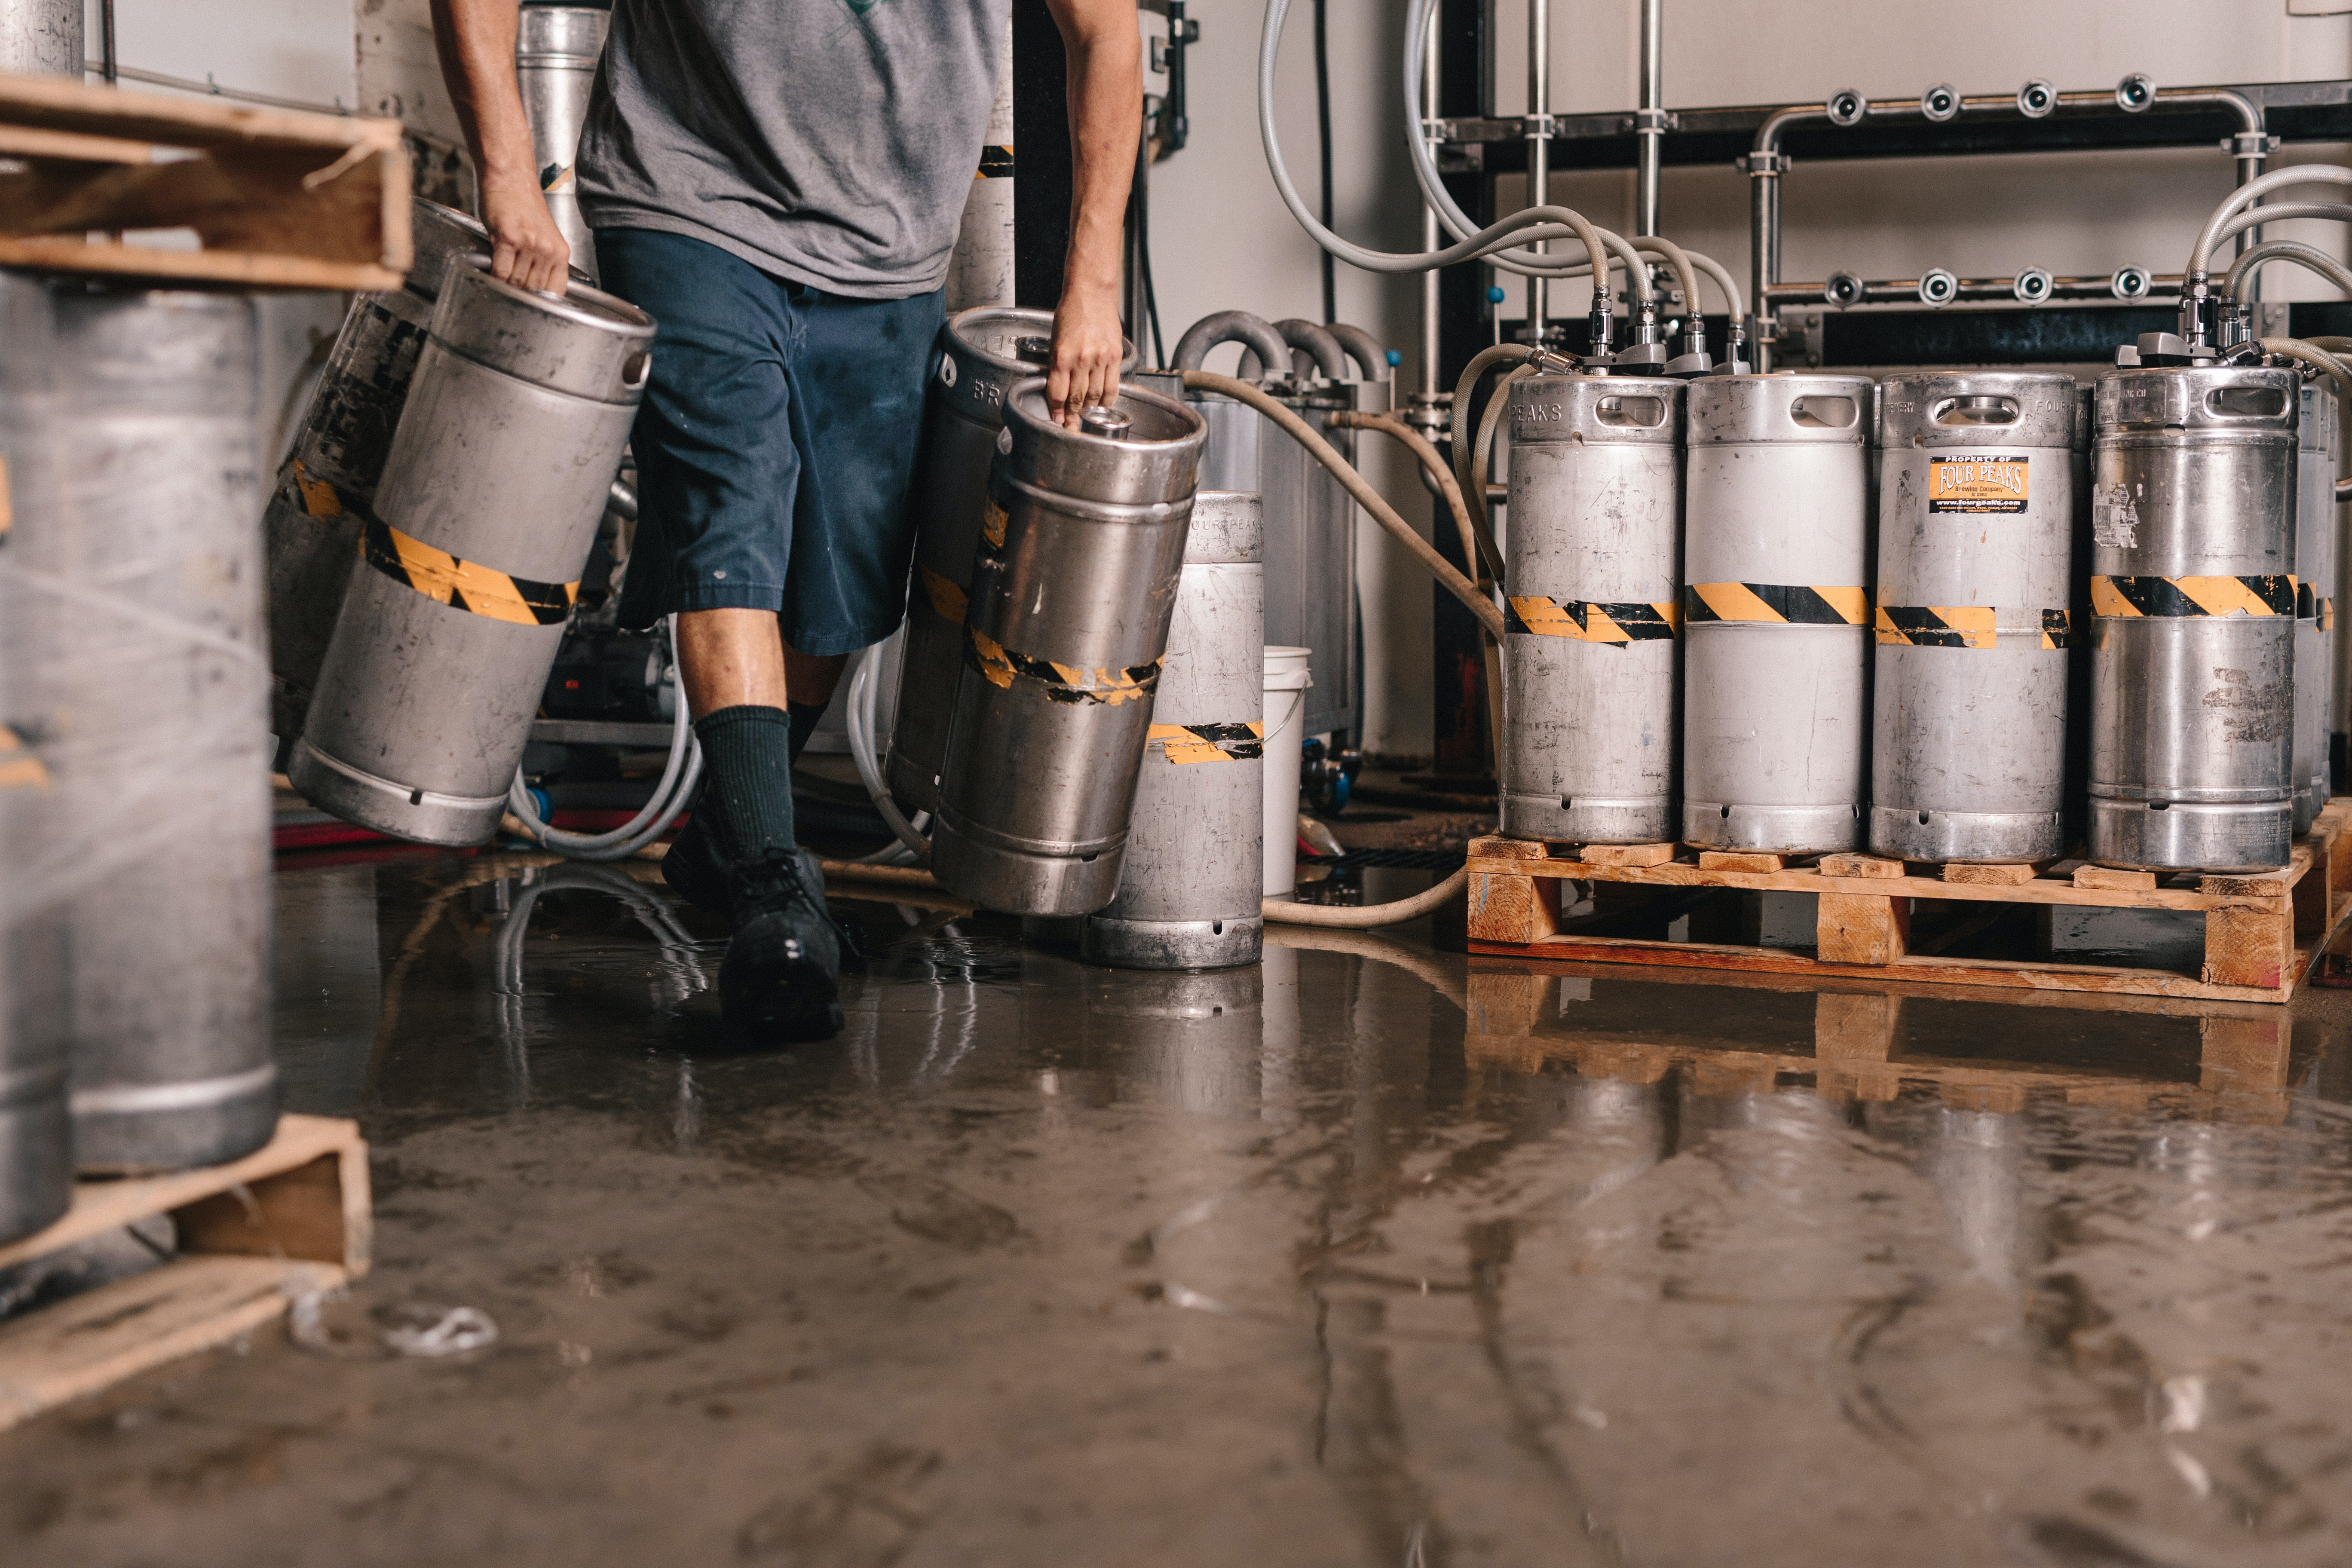
- How will you package and carbonise your finished product ? (Keg or Bottles)
- If bottling, calculate your priming sugar to achieve the proper Co2 level
- Consider the time it will take to let your beer carbonate
Making beer is a fun and exciting experience; but be patient. You will make mistakes and often might not even see the faults in your beers. Keep brewing and keep learning!


Leave a Reply